- Extract the Joomla! Zip file and open your FTP Client, login with your FTP details and upload to the public_html, http_docs or www folder depending on your hosting plan.
- Access your webspace, so for example ours for this example is: www.jevexample.com/je2/
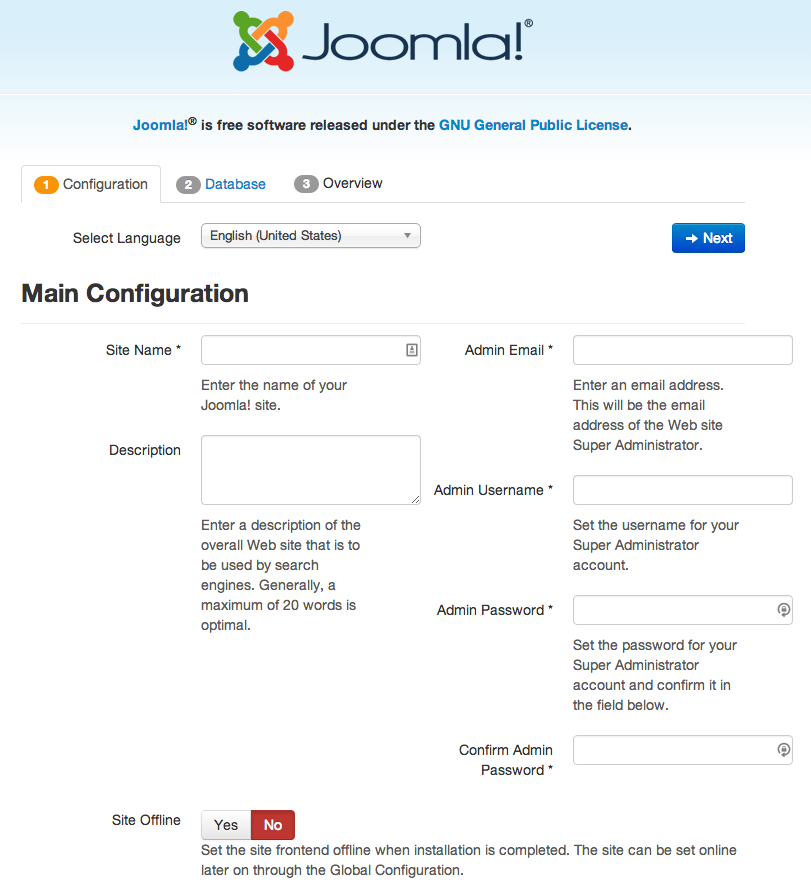
- You should now be prompted with a page which looks like:

- Fill out all the details which are relevant to you and click next.
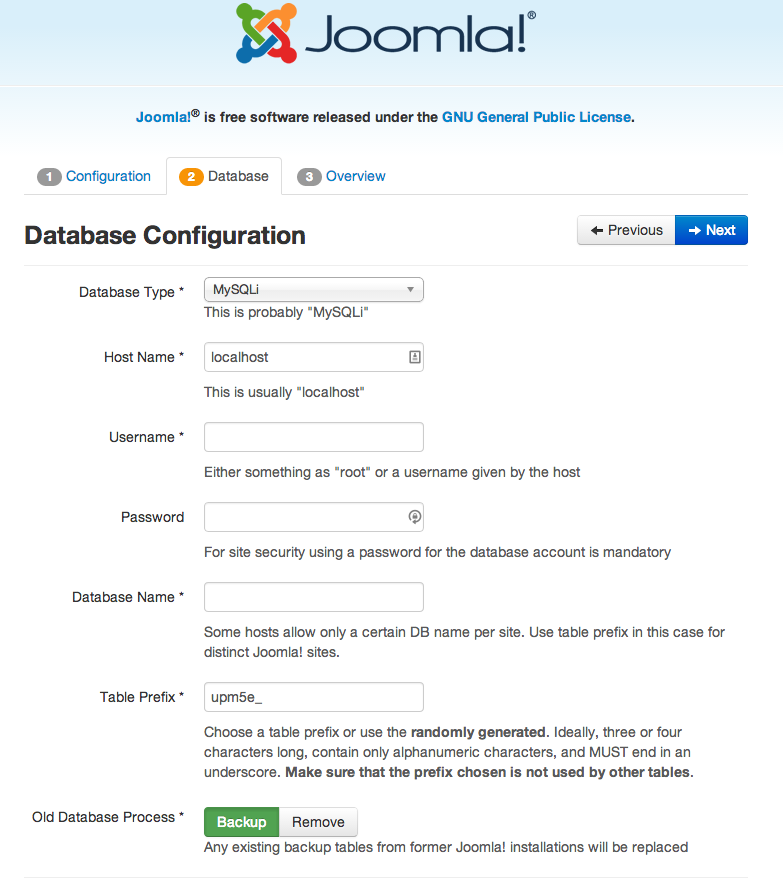
- This is where the Database Details are needed. Fill out the Username, Password and Database Name. You can alter the other settings if needed and you know what you are doing. Once filled out click Next. The form will look like:
- Here, feel free to install Sample Data and to Email the Configuration to the sites admin set in point 3. And Click Install.
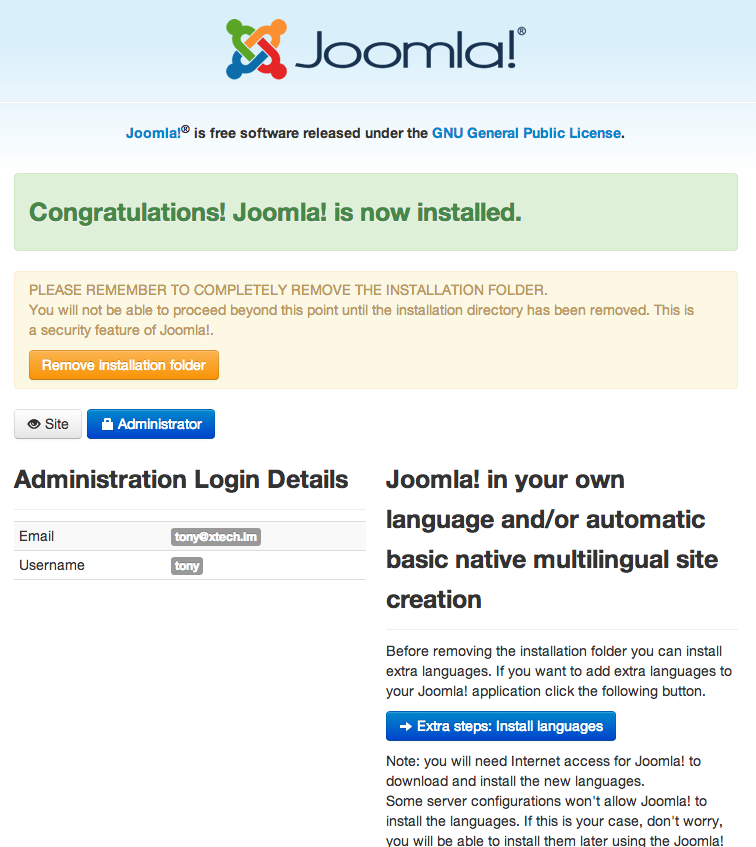
- Once this have finished installing, you will see a screen like below, click the ' 'Remove installation folder', to proceed quickly. Click the blue 'Administrator' button from here.

- That's Joomla! all installed, now on to the event management side. Now we are on the administration portal, enter your login details that you set in step 3. And click Login.
- Go to: Extensions -> Extension Manager and click the ' Add "Install from Web" button, as per the below image.

- Now the install from web plugin is activated your should see the categories and top installed extensions right in front of you from Extensions -> Extension Manager. JEvents is usually in the top 5. However, you can type 'JEvents' in the search box. Click the JEvents box when it is shown and you will see a page like:
JEvents Blog
For all the latest news and updates on JEvents and the team.
How to setup a calendar based website in just a few minutes.