Download JEvents
Here are some very brief notes about setup and usage. You may also want to refer to the old AttendEvents manual - we will be updating the manual to reflect the changes between the old AttendEvents and AttendJEvents for Joomla 1.5.
Requirements
I have attempted to remove all requirements for the Joomla legacy mode plugin (let me know if you get any legacy related error messages).Installation
1. Install the component2. You MUST then open the Attend JEvents configuration page and save the config (do not change any settings at this stage - I'll explain the options in more detail later).
3. Install and enable the plugin
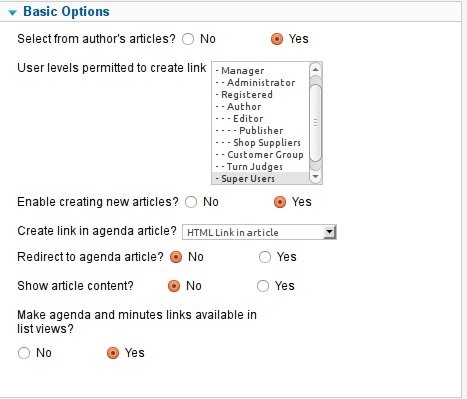
Basic Usage : Administration
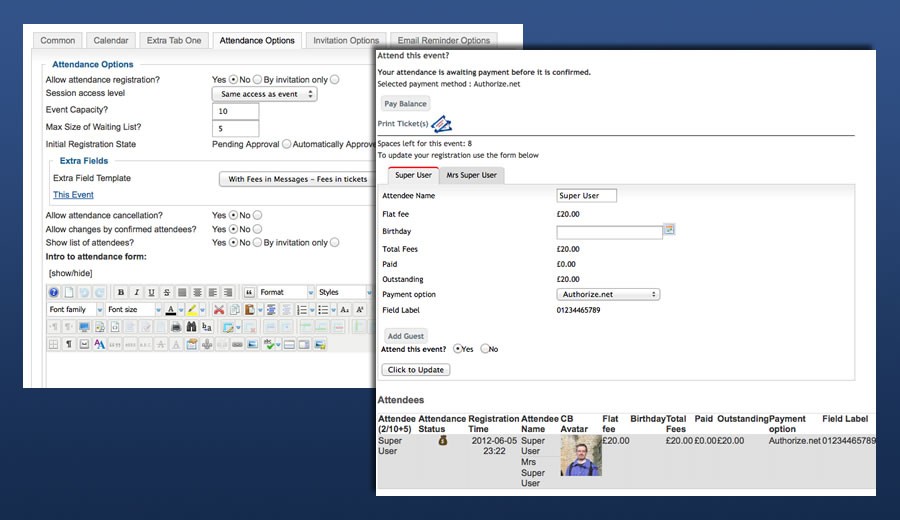
Creating a Registration Session
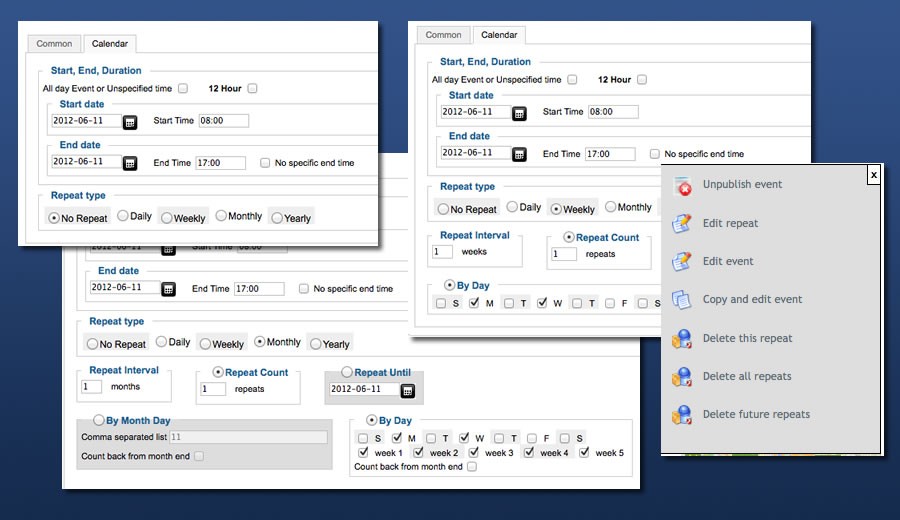
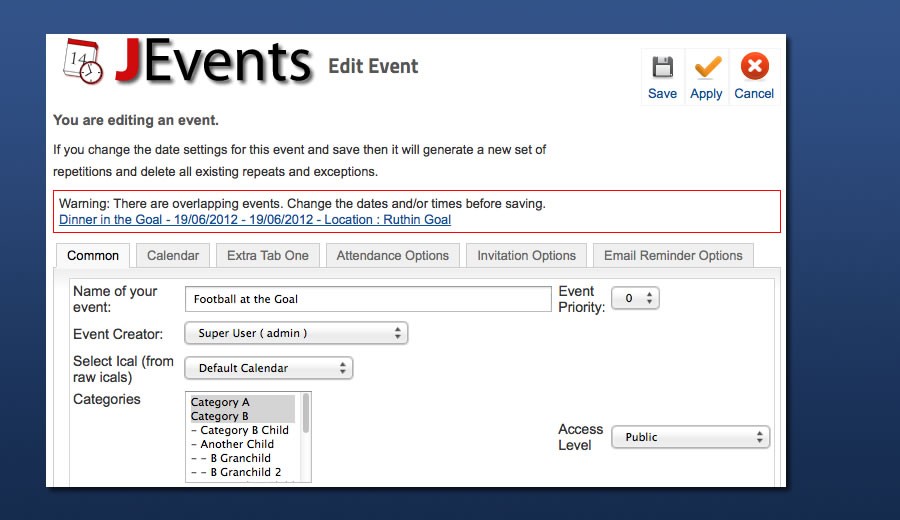
1. You create a "registration session" via the event editing screen. You must save a new event before you can specify a "registration session" - note that this MUST BE A NON-REPEATING EVENT. Once we have the code stable for non-repeating events we'll consider adding support for repeating events.
2. Editing a registration takes place in a squeezebox popup.
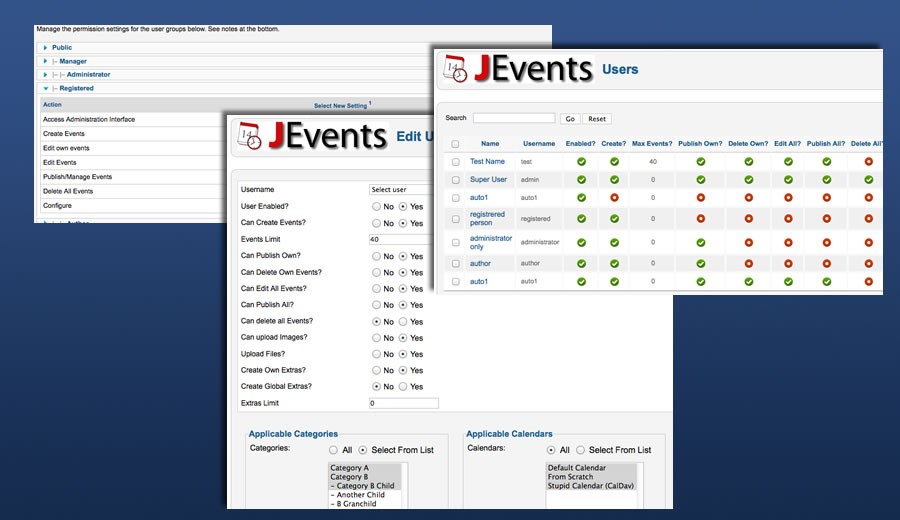
3. Publish and Access Level (as per usual). Note that this means that the event can be public and published but the registration can be non-public or not published.
4. Session Host and Alias - the person hosting this session
5. Title - the title for the event registration session
6. Description - description of the event registration session (as opposed to the event itself).
7. Registration Period - This controls when the registration/booking period runs. In other words the period of time during which bookings can be made/'tickets' purchased
8. Additional Registration Information etc. This is when it starts getting sexy so I'll start a new section.
Additional Registration Information
For your registration session you may want to collect additional information. For example if you are taking bookings for a conference you may want information about dietary requirements.
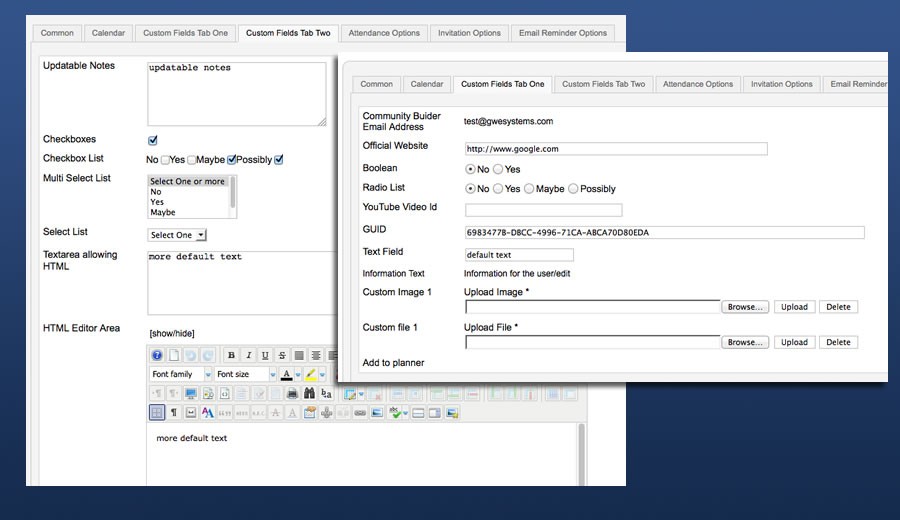
1. You can add custom fields by clicking the "New Field" button.
2. You can edit this "New Field" by clicking on the newly created field - here you can change the label, the default value, tooltip etc.
3. You can add as many fields as you want in this way
4. For more information about this process please refer to the AttendEvents manual
Session Fees/Payment Option
For more information about this process please refer to the AttendEvents manual
Confirmation Page/Published Attendee Info/Cancellation Page
For more information about this process please refer to the AttendEvents manual
Configuration Options
The configuration process has changed considerably from the old AttendEvents manual but the main choices remain the same so please refer to the AttendEvents manual
Basic Usage : Frontend Usage
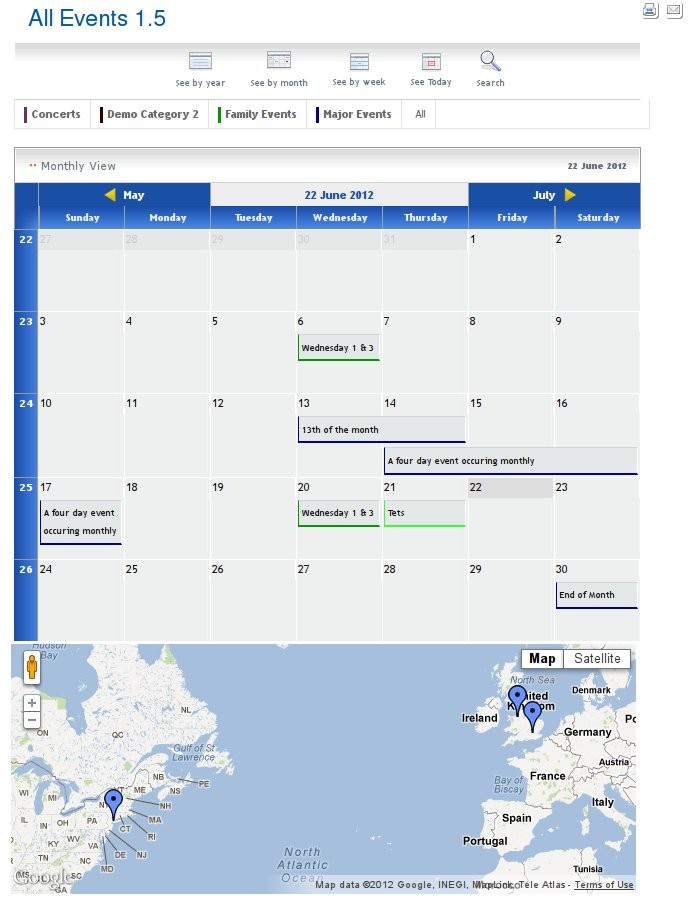
After you have created a published/public event registration session when you view the event detail in the frontend of the site you should see the registration details and form.
The registration form can be filled in and the registration form submitted.
Please refer to the AttendEvents manual
Notes
Please note that:
1. the Community Builder integration has not been tested at all yet
2. the email reminders are not yet enabled
3. some language files exist but have not yet been converted to Joomla 1.5 format
Enjoy and feedback please.